
A sharp screen recording is not just a matter of choosing the highest resolution or frame rate. The result depends on what you capture, how the recording is encoded, the clarity of your narration, and the settings used when you export or upload it. A short test recording can reveal problems before you record a full tutorial, product demo, or walkthrough.
Capture resolution and on-screen text
Resolution describes the dimensions of the video in pixels. The detail in a screen recording also depends on the captured source: enlarging a small window to fill a larger output can make text and icons look soft. Choose an output that suits the destination and the content instead of upscaling simply to select a bigger number. Vimeo's resolution guide explains common video resolution labels.
For a software walkthrough, make the interface readable before you press Record. Increase the application or operating-system text size, close panels you do not need, and keep the important content inside the capture area. Match the aspect ratio of your screen or window to your intended output where practical, and avoid stretching the image to fill the frame.
Frame rate and smooth movement
Frame rate is the number of frames captured each second. A higher frame rate can help show fast movement, but it also asks more of the computer and can increase file size. For slides, browser walkthroughs, and most desktop tutorials, a steady 30 frames per second is often sufficient. Consider 60 fps for fast cursor movement, animation, or gameplay only if the computer can record it consistently.
Use the same frame rate from capture through export where possible. Do not convert a low-frame-rate recording to 60 fps expecting it to restore motion detail that was never captured.
Microphone and audio levels
Viewers may tolerate a less-than-perfect image more readily than speech they cannot hear clearly. Select the intended microphone, place it close enough to your mouth, and reduce nearby noise before recording. Check the audio meters while speaking at your normal volume; avoid levels that peak or distort, and listen to a short sample with headphones.
Noise suppression can reduce mild, steady sounds such as computer-fan noise, but strong suppression may distort speech and cannot compensate for a loud room. OBS documents the limits and available methods in its Noise Suppression guide. Improve the room and microphone position first, then use filters lightly if needed.
Encoder, recording quality, and file format
The encoder compresses captured frames into a video file. Aggressive compression can blur small text or introduce blocky artifacts, while higher-quality settings generally require more storage and may use more system resources. If a recording stutters, reduce the workload or use a preset your hardware can handle rather than raising every quality setting at once.
When recording with OBS, its recording output guide recommends MKV because an interrupted recording is less likely to corrupt the entire file. OBS can remux a completed MKV recording to MP4 without re-encoding it. Its advanced recording settings guide explains encoder-specific quality controls; available options depend on your hardware and OBS setup.
For export, keep the source aspect ratio and use a resolution and frame rate supported by your destination. Check the platform's current upload recommendations for format and bitrate, since limits vary. Avoid repeatedly exporting an already compressed video, since each lossy encode can reduce detail.
A quick pre-recording and review checklist
The OBS Quick Start guide recommends checking sources and audio and making a short test before a full recording. Use a similar check with any recording app:
- Capture a short sample with the same window, microphone, and settings you plan to use.
- Play it back at the size viewers will see. Check small text, cursor movement, motion, and audio clarity.
- If anything looks or sounds wrong, change one setting at a time and record another sample.
- Confirm the final file opens and that speech and screen action stay in sync.
| What you notice | What to check |
|---|---|
| Text looks soft | Capture at a suitable size, avoid enlarging a small source, and review compression settings. |
| Motion looks choppy | Check whether the recording kept up with the selected frame rate and whether the computer was under load. |
| Speech is quiet, noisy, or distorted | Confirm the microphone input, distance, room noise, and levels; listen to a fresh test. |
| The file is unexpectedly large | Review resolution, frame rate, and encoder quality against the needs of the project. |
If you also need to trim a capture or add titles, see our guide to easy-to-use video editors. A brief test and a careful playback check are usually more useful than increasing resolution, frame rate, or bitrate without a specific problem to solve.

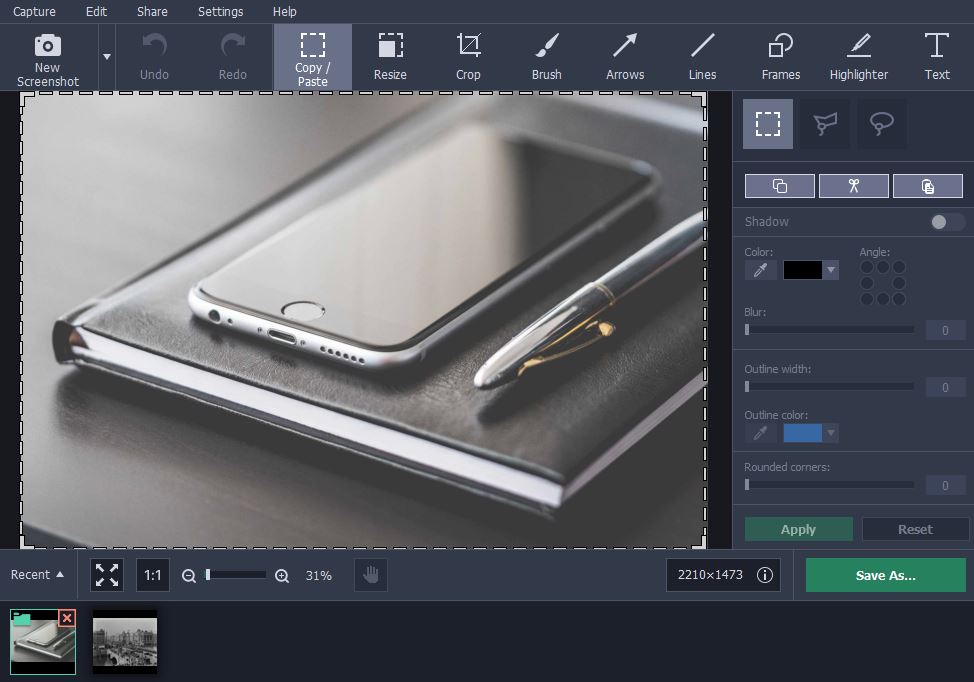
what screen record software is the screenshot in the article from?
Movavi Screen Recorder