
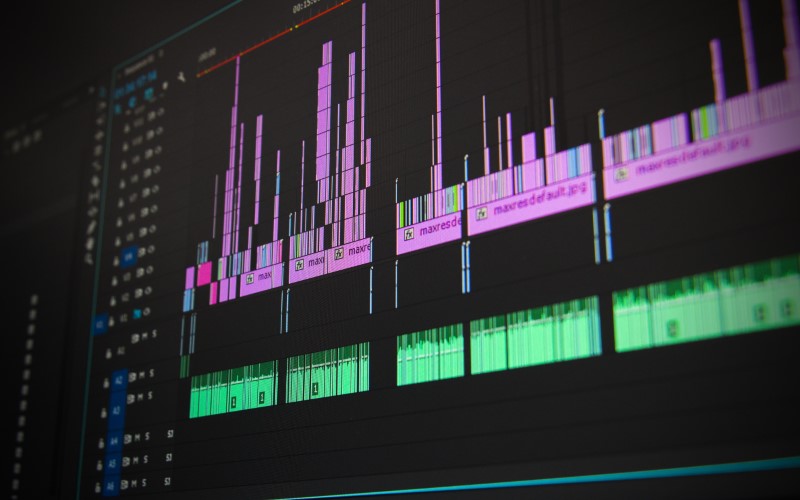
You do not need a powerful computer or elaborate effects to make a clear, useful video. A repeatable editing workflow helps you turn raw clips into a story, make dialogue easy to hear, and export a file that works where you plan to share it. This guide covers how to choose an editor and the practical steps from organizing footage to checking the finished video.
Choose an editor that fits your project
Start with the computer and footage you already have. Editors differ in supported formats, system requirements, and complexity, so check the current requirements on the official site before installing one. These are useful starting points, not a ranking:
| Editor | A good fit when |
|---|---|
| DaVinci Resolve | You want editing, color, audio, and effects in one application. There is a free version as well as a paid Studio version; check the current system requirements for your computer. |
| Shotcut | You want a free, open-source editor for Windows, macOS, or Linux and prefer to start with a straightforward timeline. |
| Kdenlive | You want a free, open-source, cross-platform editor with a traditional multitrack timeline. |
| iMovie | You use Apple devices and want a simpler place to start editing. |
| Adobe Premiere Pro | You need a paid editing workflow or already use Adobe's video tools. Review its current plan and system requirements before subscribing. |
Try the same short clip in one or two editors before committing to a new workflow. Check whether your footage imports correctly, playback is smooth enough, and you can find the basic trimming, audio, caption, and export controls. A long feature list is less important than being able to complete your actual project.
A beginner-friendly editing workflow
1. Decide what you are making
Write down the video's purpose, intended viewer, approximate length, and destination. A short vertical social clip, a widescreen tutorial, and a customer-support video have different framing and pacing needs. Decide the aspect ratio and delivery requirements before adding titles or cropping footage; changing them late can mean reworking the edit.
Keep the original camera files. Copy them to your editing storage and make a separate backup before clearing a camera card or phone. Video files can be large, so leave room for source media, project files, temporary render or proxy files, and exports.
2. Organize and review your footage
Use a project folder with clearly named subfolders for video, audio, graphics, project files, and exports. Keep original media separate from generated files such as proxies and caches. Give project versions descriptive names, and avoid moving or renaming source files after importing them unless you know how to relink media in your editor.
Watch the clips once before building the timeline. Mark the useful takes, note problems such as wind noise or missed words, and group related shots. This review saves time compared with repeatedly scrubbing through every long recording while editing.
3. Set up the timeline
Choose a project resolution and frame rate that suit the delivery target and source footage. In most cases, keep the camera's recorded frame rate unless the destination or a specific creative effect calls for a conversion. Higher resolution is not automatically better if it makes editing or uploading impractical.
If full-resolution clips stutter, look for a proxy option in your editor. Proxies are temporary, lower-resolution editing copies that can make playback easier; the editor should use the original media for the final export when the proxies are correctly linked. Follow the instructions for your chosen application and check that the originals are online before rendering.
4. Build a rough cut before polishing
Put the clips in story order, then trim pauses, mistakes, repeated points, and footage that does not help the viewer. Focus first on a clear beginning, useful middle, and satisfying finish. Watch the rough cut from start to end; an edit that makes sense while you are moving clips around may still feel confusing at normal speed.
A timeline is the ordered sequence of clips and other media in your project. A cut changes from one shot to another. In a J-cut, the next shot's audio starts before its picture; in an L-cut, the current shot's audio continues over the next picture. These are simple ways to make an interview or explanation flow, but a straight cut is often all you need.
5. Make speech and music easy to hear
Adjust dialogue first. Listen with headphones and on ordinary speakers if you can. Keep speech at a consistent level and avoid peaks that distort. Reduce background noise carefully; aggressive noise reduction can make voices sound unnatural.
Music should support the video rather than compete with speech. Lower it under dialogue, add gentle fades where needed, and check the mix on more than one device. Use audio you created, have permission to use, or whose license covers your intended use. A track being free to download or described as "royalty-free" does not by itself explain every permitted use. Check the specific license and attribution requirements, especially for client or business projects. The Creative Commons license guide explains common license conditions. You can also browse the existing guide to free music and sound effects.
6. Add titles and captions
Use short titles to identify a speaker, explain a term, or direct attention to something important. Keep text readable on a phone and away from interface overlays near the edges of the frame. Avoid decorative motion that makes the words harder to read.
Provide accurate captions for spoken content when publishing to an audience. Review automatic captions rather than assuming they are correct, and make sure they are synchronized and do not cover important on-screen information. The W3C captions guidance explains caption requirements and presentation. If you publish to a platform that supports caption uploads, follow its current instructions for adding the caption file.
7. Apply color and effects sparingly
Correct obvious exposure or white-balance differences between shots before adding a creative look. Small, consistent adjustments usually help more than applying a strong filter to every clip. Use transitions and effects only when they clarify a change or support the style; too many can distract from the content. If you want to explore effect ideas, the original FlexClip video effects resource is still available.
8. Export, then review the exported file
Use the destination's current recommendations or a matching preset for frame size, frame rate, and file type. For a broadly compatible starting point, an MP4 file with H.264 video and AAC audio is common, but it is not the right setting for every delivery or archive. Avoid repeatedly exporting an already-compressed file; return to the project and original media when making changes.
Before sharing, play the exported file from beginning to end—not just inside the editor. Check that the picture is correctly framed, speech is clear, captions are readable and synchronized, titles are spelled correctly, and the ending is not cut off. If possible, also view it on the kind of screen your audience is likely to use.
A short checklist before publishing
- Keep an untouched copy of your source footage and a separate backup.
- Confirm the aspect ratio, resolution, and frame rate match the intended destination.
- Listen for clipped dialogue, distracting music, and abrupt audio changes.
- Check captions, names, spelling, and text placement on a small screen.
- Confirm you have permission to use the footage, music, images, and other assets.
- Review the exported file all the way through before uploading or sending it.
Editing gets easier with practice. Start with one clear outcome, make a simple cut, and add polish only when it helps the viewer. You can also find free stock video footage for projects when you need material beyond your own recordings.
