Handwriting fonts add human touch wherever they’re used. There are many free font sites where you can find professional handwritten fonts for your need. But how about creating your own font from your handwriting? A font that, like your handwriting, exudes your unique personality.
In my earlier post on font creation tools, I wrote about Fontifier, an online tool that lets you create TrueType font (TTF) from your handwriting. However if you want to use the font, you need to buy it. So when I stumbled across MyScriptFont (now Calligraphr) which turns handwriting into font and also allows you to download the font for free, I thought to give it a try for the fun of it and was quite impressed with the result. In this post, I’ll share my experience of using MyScriptFont with you.
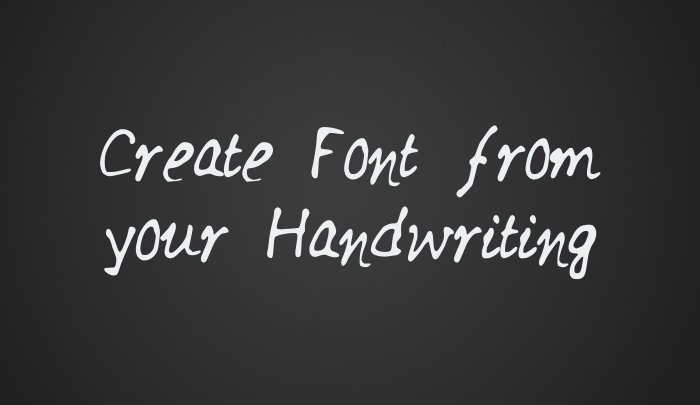
I must admit that the font that you create using MyScriptFont may not be perfect for use in your graphic design projects. But it will make a good choice when you want to add a personal touch like in e-cards or adding notes to your photos just like I did in the image above using the font created from my own handwriting.
Make Font from your Handwriting
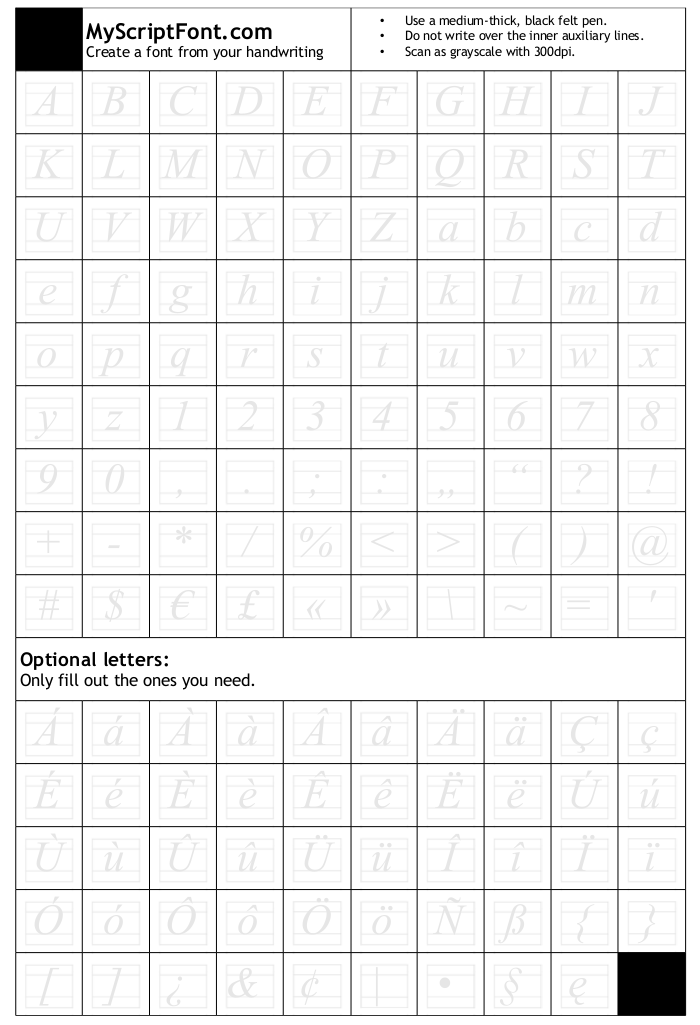
As first step, I downloaded the font template from MyScriptFont. As you can see in the image below, this template contains boxes for all the main characters in use in English, plus another extended set of optional characters.
Next I printed the template and filled it using a black felt pen. You can also edit this document in an image editor like Photoshop and fill the characters instead of printing it and filling it using pen.
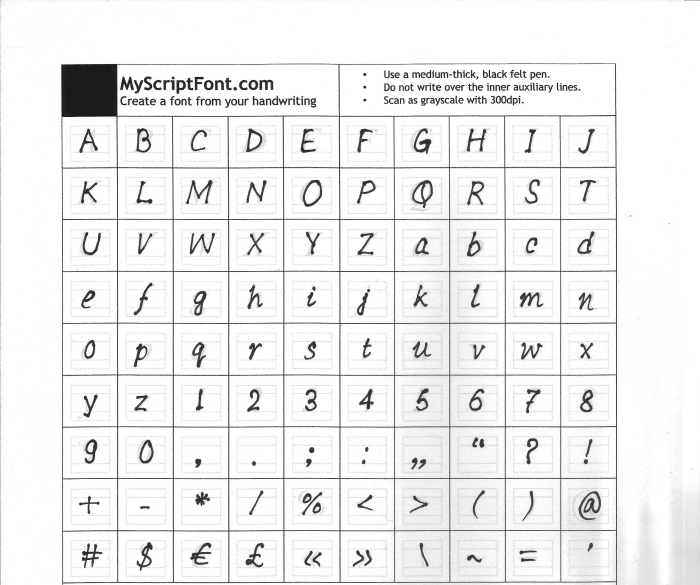
Below you can see my filled template; I did not fill in the optional characters hence I have not included them in the image below. Note that you’ll need to upload the entire image even when the optional characters are not filled in.
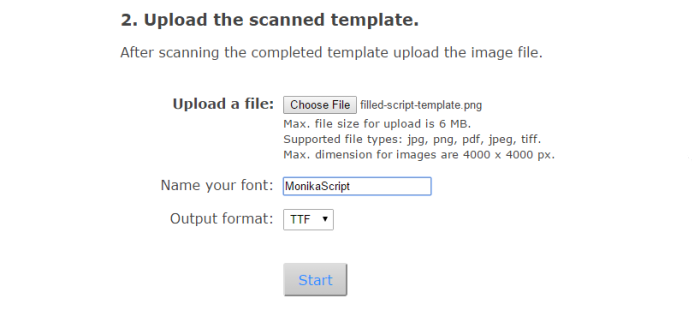
Then I scanned the filled template and uploaded it to the site. Though MyScriptFont supports JPG and PNG among other file formats, when I uploaded JPG format, it did not work as expected. So I uploaded my document in PNG format and it worked perfectly. If you try or, have already tried this tool, you can tell us in the comments section which file format worked well for you.
I named my font, MonikaScript, selected TTF format and hit the start button.
MyScriptFont took around a minute to process my document. Upon processing, a preview text written in my font was displayed as result. At this step, if you are not satisfied with the preview, you can start again, or you can go ahead and download your font.
Below is a preview of my handwriting font:
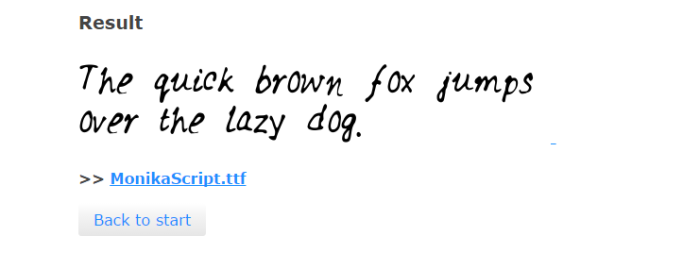
I was satisfied with how my font looked, so I downloaded the font MonikaScript.ttf. and installed it on my system. I then used this font in Photoshop to create the featured image for this post. As I had said earlier, my font is good fit for personal use but is not a professional quality font.
Creating high-quality professional fonts takes time and practice and should better be left to the experts. But it is always fun to create and use font made out of your own handwriting. And MyScriptFont is great at what it says, with straightforward instructions that anyone can follow and create their own handwriting font in no time and that also at no cost. Do consider donating them and spreading the word, if you like the tool.
Update: MyScriptFont is now Calligraphr. Using Calligraphr you can turn your handwriting or calligraphy into a functional TTF or OTF font. Overall, the process of creating fonts using Calligraphr is similar to what I have shown in this article. You start with downloading a template, printing it and filling it out with a black pen. Earlier with MyScriptFont, it was required to upload a scan of the filled template, now you can even take a photo and upload it to the tool for further processing. For step-by-step instructions, you can also refer to the tutorial on their website. Calligraphr also has a pro pricing tier that offers additional features such as ligatures, letter spacing adjustment, you can check out their pricing plans for more details.
If you want to design professional typefaces, it is recommended to use a professional font editor. You can read my post that lists industry standards font editors like FontLab Studio as well as free font editors like FontForge that you can use to create fonts.
Hey hello monica,
I read your both artcticles on font creation and loved it. I was searching for such applications to develop my own fonts.
I am calligraphy artist, ecommerce application developer and consultant.
I have even made my own tshirts in devanagari calligraphy and developed 5to6 devanagari logo. My point is this information is truely helpful to me to standout in my own work and in my web projects where devanagari fonts are too less to decorate.
Thanking you for your great efforts and sharing knowledge. Keep it up.
If possible please find the softwares that can effectively create font for print media.
Thanks in advance
I use it.
It is very good service. PDF format worked for me, but I will also try PNG.
I have challenges using this on a web page. Please share your experience.
Thanks.