A website favicon is an essential part of the brand identity similar to the website logo. However, it is normally an ICO file as compared to regular image formats such as PNG, JPG or SVG. In this article, we will see how we can convert a regular image to a favicon.ico file without using any photo editing software like Photoshop or GIMP.
Understanding History of Favicon.ico
A favicon.ico file contains images of multiple sizes and is similar to ICON files used on desktop computers. It first came into existence in 1999 when Microsoft released Internet Explorer 5 and added the support of favicons.
The favicon file was originally meant to be a favicon.ico file at the root of your domain. For e.g. http://yourdomain.com/favicon.ico. Later W3C specified a standard implementation of favicon files using an HTML <link> element in the <head> section with a href attribute specifying the favicon file location. As per the new scheme this favicon file can be in any web site directory and can have any image file format. However, IE only supported the ICO file format from version 5 till IE version 10.
Thus, even though PNG and JPG file formats are supported by other browsers, to maintain compatibility with older versions of Internet Explorer, it is recommended to specify the website icon as .ico file. We will see later how you can also specify icons in meta tags for Android and iOS and they will be used when the user pins your website to their home screen.
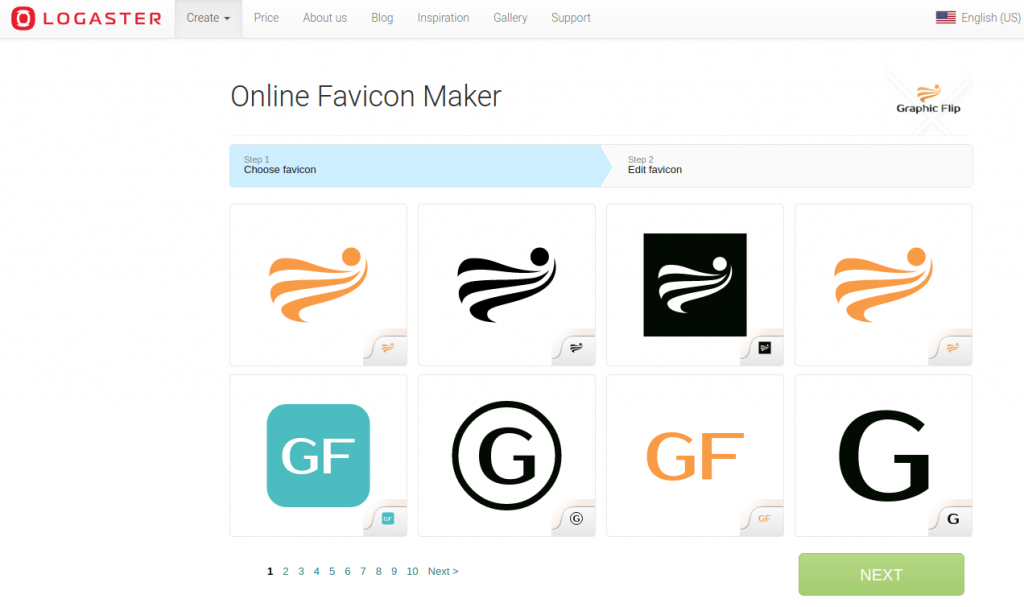
Create Logo and Favicon
If you don’t have an existing logo for your website, then you may want to head to Logaster, and it will guide you step by step and help you create your website logo as well as favicon.
Create Favicon from Image
If you have an existing logo, but want to convert the logo image into favicon, then read on to find out how you can get it done.
Step 1: Get Starting Image for Favicon
We will start with the following PNG image for our favicon. Generally, you would use your website logo or a modified version of the logo. Make sure that your favicon image can fit inside a square icon and is legible even at small sizes. It is better to have the starting image to be at least 260 x 260 px in size.

The above image is part of Pop Art Elements Vector set and is available for free download from our site in AI, EPS, SVG, PSD and PNG formats.
If you need a website logo of your own, you may want to take a look at GraphicRiver’s collection of logo templates for professionally designed logos.
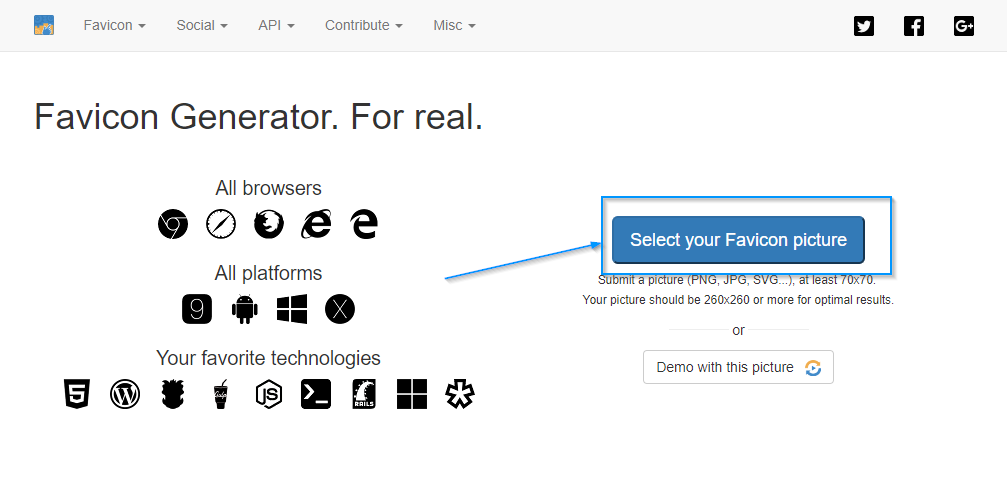
Step 2: Create Favicon from Image
Once you have the starting image, head to the website realfavicongenerator.net and upload your image using the button “Select your Favicon Picture”. This website will help you generate favicon compatible with almost all browsers and platforms.
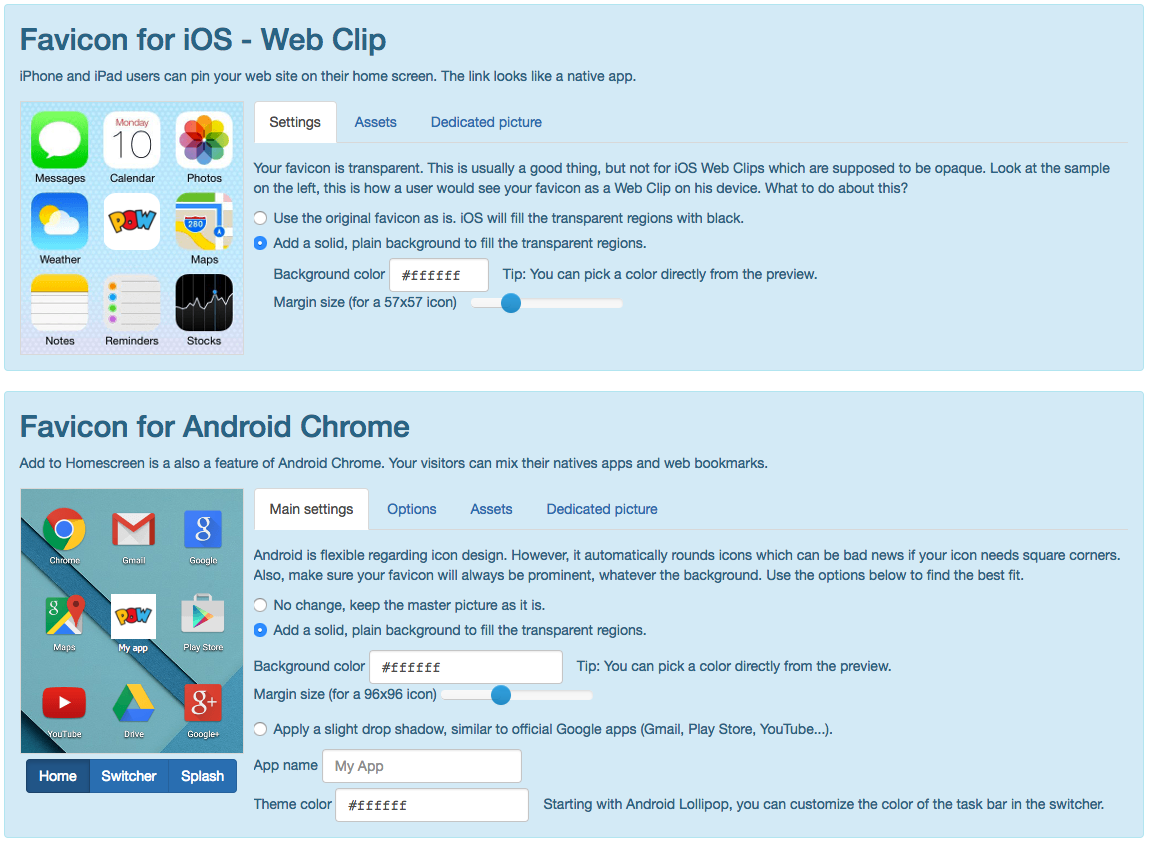
 Next, the website will ask you to configure your favicon for different devices including iOS, Android, Windows, and macOS. These configurations are needed in order to display your favicon on user’s home screen of these devices. Make sure you change the settings such as background color, margin size, theme color etc. based on the colors of your favicon. A real time preview can be seen which will help you configure these values.
Step 3: Generate Favicon
Once you have selected the options as per your liking, click on “Generate Your Favicons and HTML code” button and the website will create a favicon package along with HTML code similar to the following:
<link rel="apple-touch-icon" sizes="180x180" href="/apple-touch-icon.png">
<link rel="icon" type="image/png" sizes="32x32" href="/favicon-32x32.png">
<link rel="icon" type="image/png" sizes="16x16" href="/favicon-16x16.png">
<link rel="manifest" href="/manifest.json">
<link rel="mask-icon" href="/safari-pinned-tab.svg" color="#5bbad5">
<meta name="theme-color" content="#ffffff">
Step 4: Add Favicon to Website
You would need to download the favicon package generated by the website and extract its content at the root of your website. Upon extracting you will find that your image has been converted into favicon.ico along with favicon images of different sizes, a browserconfig.xml file and a manifest.json file. These additional files are required to specify the website icon on different devices such as iOS, Android and Windows 10.
Once you insert the code provided in the head section of your website you would be able to see the favicon in browser tabs, start screen, favorites bar etc. Make sure that this code is added to every page of your website for the favicon to work properly on all pages. You can also use this favicon checker to check that everything is in place. Here is how my favicon looks after completion in Firefox browser tab.

I hope you found this tutorial about creating favicon from image useful. In case you want, you can create favicon from text too using Google Fonts. Let us know if you face any issues and we will try to help as much as possible.